|
|
2- How to get a floor plan printout at a specific
scale
like 0.5 inch on printout = 12 inches of design. |
Part #1 of 2 : Searching for the maximum printable
area of your printer
First, you must know the maximum printable
area of your
printer. You need to find that information
only once. You can find it by doing one
of these three procedures :
1- Search for it in your printer manual.
2- Divide the printer Image dimensions
by the printer DPI currently set.
3- Print a floor plan and measure the frame
surrounding the floor plan image with an accurate
ruler.
We will use the third procedure in our
example because it is the quicker and easier one.
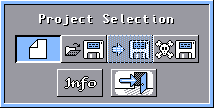
Run the Scene Editor program then click the
New Scene button in the
Project
Selection window.
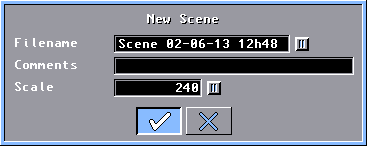
Simply accept the default settings in the
New Scene
window by clicking the OK button.
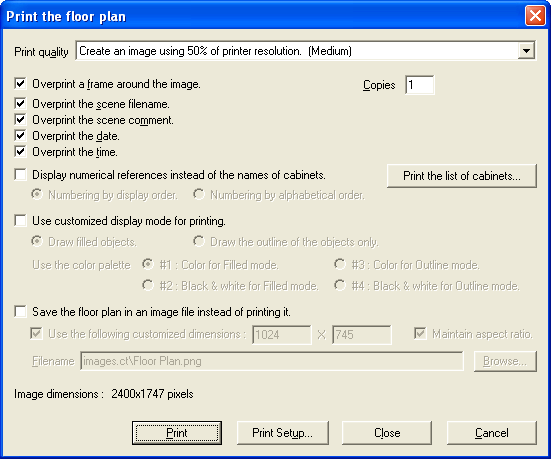
In the Edition Tools section click the
Print
Floor Plan button.
In the Print the floor plan window,
be sure to select the Overprint a frame around the
image button, then click the Print Setup button.
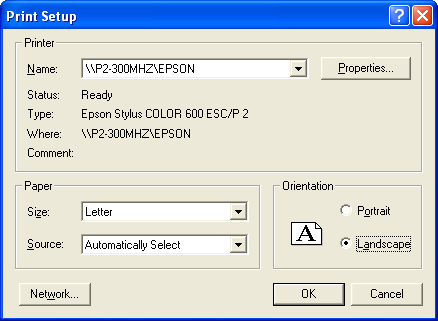
In the Print Setup window,
select the printer, paper size and orientation then click
the OK button.
Back in the
Print the
floor plan window, click the
Print button
to start the printing.
Take the time to do a very accurate
(1/64 inch) measurement of the width of the frame surrounding
the floor plan image. By example, on an Epson Stylus Color 600 printer,
in landscape orientation, for an
8.5" x 11" page, the maximum printable area is 8.2666" x
10.3333", so the width of the frame
measures 10.3333" and the frame
height is less or equal to 8.2666".
Part #2 of 2 : Calculating and setting the scale
value according to your printer
The scale value of the floor plan represent the viewable
width of the working area in the main window. When you print the floor plan, this
width always fit the maximum printable size of your
printer depending of the paper orientation.
So the formula is :
maximum_printable_size / wanted_printout_scale x corresponding_floor_plan_scale =
scale_value_to_set
In our example, we want that each 0.500" on the
printout to correspond to 12.000" of our design.
So for an Epson
Stylus Color 600 printer the solution is 10.3333 / 0.500
x 12.000 = 248.
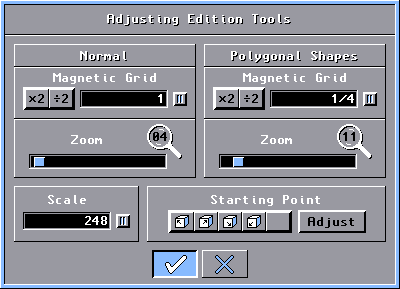
To change the floor plan scale, click the Edit Tools button in the
Edition
Tools section.
In the Adjusting
Edition Tools
window, erase the
contents of the Scale text box and type in your calculated scale value for your
printer. Press the TAB (or
Enter) key to validate the entry.
Click the OK
button.
Your design is now resized and centered on the floor plan, ready to be
printed at the desired scale. (This operation does not modify your 3D camera
positions so you will need to readjust them.)
If your design no more fit in the floor plan working area,
it is because the scale is now too small. In such case, you need to choose another
scale ratio like 0.500/24.000 instead of
0.500/12.000 in our example.
Your calculated scale value
is good forever unless you change the printer or the paper size or
orientation. It is a good idea to always begin a new project
with your calculated scale value so your floor plan printout will
always be at the desired scale.

|